

We teachers love labels of all shapes and sizes for our classrooms. You can easily make your own! I am adding mini-labels to a new polka dot classroom decor set. The problem is that when I filled the tiny square the way I did the larger decor pieces, the dots on the background paper were too small and spaced too far apart to be seen around the cute green frame by Ashley Hughes. It's the case of the disappearing dots! It's not much of a polka dot set with only four semicircles in the frame as you can see. Maybe this has happened to you before as well.

So what do I do? Determined to have my dots, I begin trying to fix it any way I can but without much luck other than turning my dots into lovely ovals. Dots and chevrons are probably the two hardest patterns to work with because they both get easily distorted, especially in rectangles.
I will take you through the steps to get from my before to my after when working with dots!
This can also be applied to many, but not all digital papers that you plan to use to fill a shape.
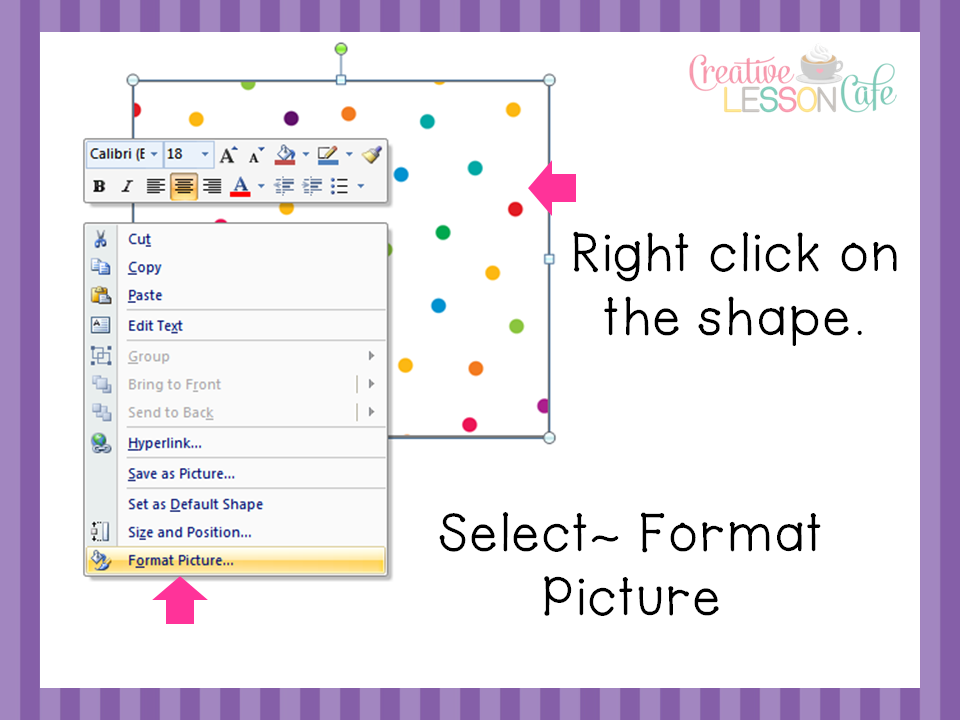
First, insert your shape in PowerPoint as you normally would.
For mostly white backgrounds, I like to add a faint cut line around the shape.
Then, follow these steps below to fill the shape with your favorite digital background papers.
** It's been my experience that not all papers are created equally. Some tile more nicely than others inside a shape. Watch out for visible seams. If you have them, you'll want to choose a different paper.**

The most important step here is to be sure to check tile picture as a texture to avoid the stretch with patterns! When I did this last step, I now have the large dots from the pretty paper I chose (which is really just a .png image) inside my shape. Normally I would stop there.
Here is the shrinking part of the tutorial:

Find where it says Scale X and Scale Y.
I've seen them there every time, but completely ignored them for years because I had no clue what they were for!
(It's OK. You can say "duh" if you already knew this. I have many "duh" moments!)
So I just started fiddling around with it and discovered the shrinky dink effect!
See how the default is set to 100% in the picture above? Use the down arrows or type in a value less than 100. I gradually worked my way down until I adjusted the dots to be the size I wanted them to be.

My dots stayed nice and round when I changed both X and Y to the same value. 47 was my magic number.

For some backgrounds you may also find that adjusting the alignment will place your patterns where they may be better seen and not be hidden behind any clip art or frame.
Save Time!
Once you have shape fill in general and these tricks mastered, it's super easy to just click on every shape on your page to select them all at once, rather than filling each shape individually.
Follow the same series of steps to add your backgrounds quickly!
Here is the finished product~ teeny tiny dots on teeny tiny labels!

Hope you learned a little something here!
If you are a PowerPoint user, try it out and let me know how it works for you! Maybe you'll discover something to add here! For those of you just getting started with using PowerPoint, you can find many great beginner tutorials out there if you search!

Very nice. I will have to try this technique. Thank you for the tutorial.
ReplyDelete